
How to Make an Epic Football Snack Stadium
Take your Tailgate food spread game up a notch with this DIY Snack Stadium, perfect for any game day or Super Bowl party!

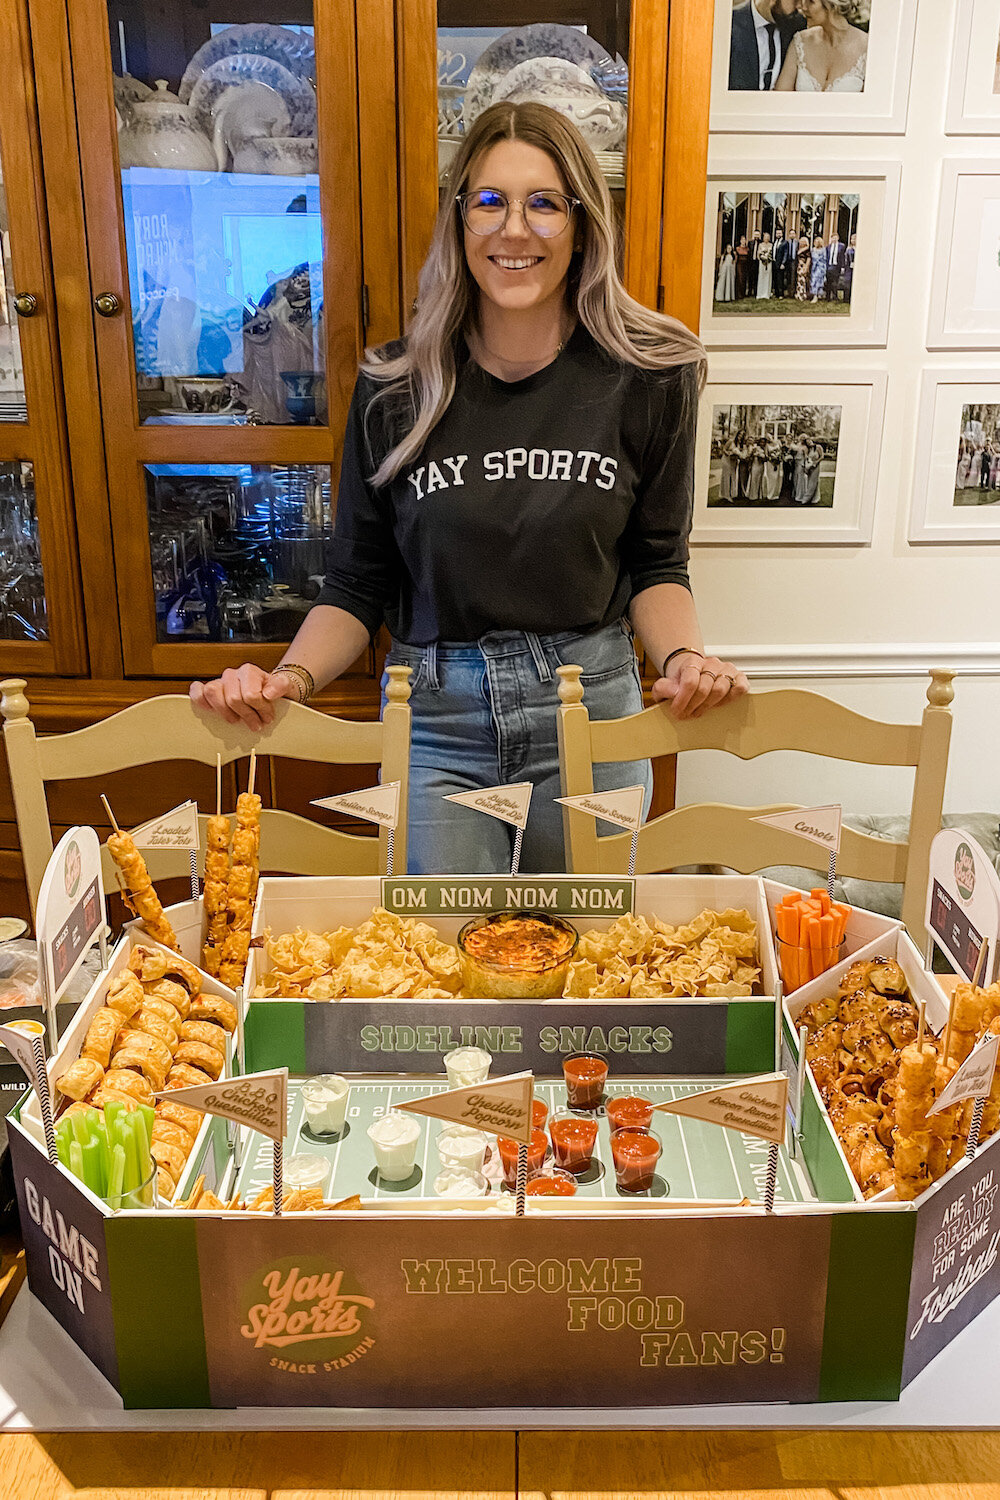
This Snack Stadium was super fun to make! I really enjoyed getting creative with the process, especially with branding the “yay sports” Snack Stadium!
The inspiration behind the “yay sports” theme came from a shirt I made for last year’s Super Bowl, which I wore again this year!
I’m not super into the NFL, I’m more of a college football gal, Go Gators! However, I do LOVE the Super Bowl because it’s such a production - hello half time show and crazy commercials. It’s the perfect excuse for me to go over the top and make something extravagant like this Snack Stadium! I’m also going to save this for college football season and bring it out at our next tailgate!


Designing the stadium wraps and other decorations was definitely my favorite part! I went with a muted green, black and white color scheme and used accented with a tan and light pink for a girly touch. I wanted to create a classic retro, athletic vibe, so I chose a retro font as well as a classic sport block letter font. I researched various “retro” athletic and other logos then opened up photoshop and did my thing!


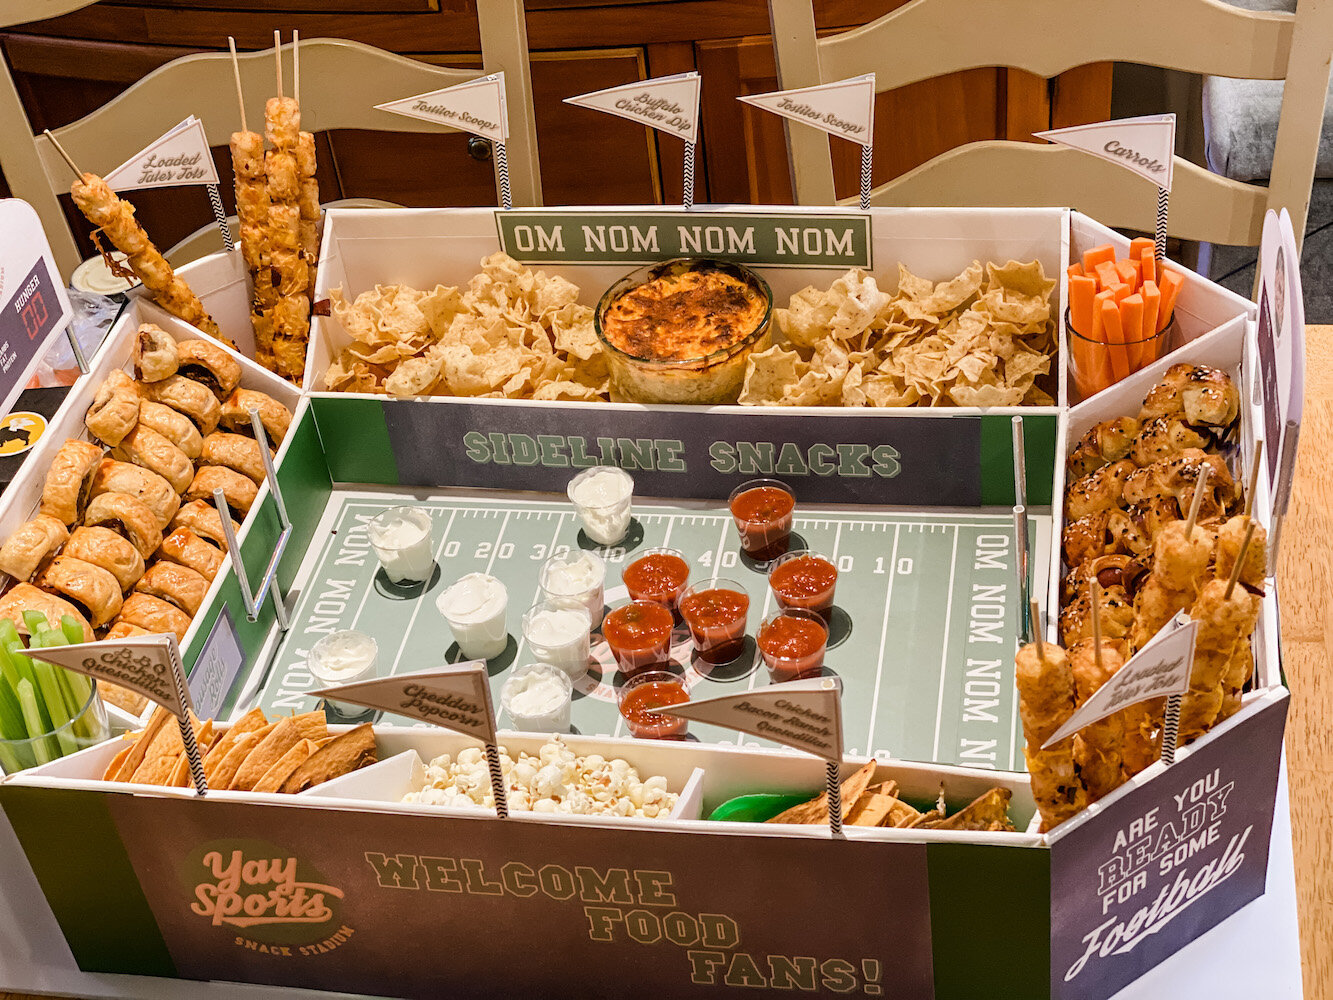
I brainstormed a bunch of fun puns and phrases I wanted to include and made a list with measurements of all the areas of the stadium that needed covering, then assigned phrases to areas and designed. My husband suggested I make a score board with snacks beating out hunger and I made food labels into pennant flags to give the stadium some more height.


We kept our gathering super low key for obvious reasons and invited just 3 friends over, needless to say we had a lot of leftovers, but at least I didn’t have to plan meals for a few days!
Here’s how I made the Snack Stadium
Gather Supplies
3 Foam Core Poster Boards (20x30”) I got mine from the dollar store!
X-Acto Knife/ Cutting blade and cutting mat
Ruler/Tape Measure
Tape - I used White Duck Tape for a clean look
Printed Stadium wrap decorations
Double sided tape or Tape Gun - I use the Scotch Advanced tape glider
Paper straws
Tooth picks
Hot glue gun
2. Measure and mark your cuts
The measurements I used are below. I used two of the foam core boards for the structure and the third board is used as the base.

3. Cut your boards!
Carefully use a sharp craft knife to cut the boards, use a cutting mat or scrap card board below so you don’t cut your floor/table. It would definitely be much easier if you had a large ruler to keep your lines straighter but I just free handed and ended up with some questionably straight lines! I remedied that by adding the white Duck tape on any wonky exposed cuts to make everything look more neat.
4. Assemble the Snack Stadium
I started with the inside 3 inch inner sideline and end zone sections and taped them together at the corners on both the inside and outside.
Next I taped the corner sections. The shorter, 3 inch end is taped to the center. It’s important to keep these directly in line with either the side line or the end zone, depending on direction.
Tape the outer end zones and sidelines next.
Tape the outside corners. This was the trickiest part to make fit well - I think I should have trimmed them to fit better, as the space available depends on how the rest of the stadium was assembled, however I had already taped the edges straight. It honestly didn’t really matter much as I was able to hide most imperfections with the decorations.
I used the 2 additional corner supports as sideline dividers - make more or less depending on your snacks! One of the sidelines was split in to 3 sections, with 2 dividers.
Lastly I hot glued the platform braces to the inside of the two end zones then covered the end zone platforms in foil and placed them on top of the braces.
5. Add decorations!
I used photoshop to design mine and printed them out on 11x17 card stock. I added some green card stock to fill in some gaps as I didn’t want any white to show on the outside as the sidelines were 20”. I attached the designs with double sided tape.
I also made some pennant flags as food signs. I hot glued the flags to paper straws, then hot glued a tooth pick to the inside of the straw, so the toothpick could be inserted into the foam core board. I used the same method for the score board. I measured the stadium and marked where each flag would go to make sure they were all even.
Finally, for the goal posts, I cut paper straws to size and used hot glue to hold them in place and glued a tooth pick to the inside of the base so it could be inserted to the base.
6. Finally it’s time to add the snacks!!


Let’s Talk Snacks!
As making the snack stadium was quite a process, I wanted to make the cooking process super simple and stuck with easy recipes and some of my usual go to’s!

I generally try to find recipes with overlapping ingredients to make prep easier, this time I used shredded chicken in the buffalo chicken dip and quesadillas, red onions and cilantro in the BBQ quesadillas and guac, and green onions in the Buffalo Chicken dip, Chicken Bacon Ranch Quesadillas and tater tots and of course lots of cheese!
Once I decide on the lineup, I use the notes app to combine all of my recipes in one note which makes it easier to organize my plan for making all the dishes. I try to figure out the most efficient way to prepare all the recipes by picking out which items I can batch prep and list out oven temperatures and times. Then I’ll make a plan for the day so I stay on schedule and don’t loose my mind!
Here’s the Snack Stadium Lineup with links to recipes used
Everything Bagel Pigs in a Blanket - Can’t go wrong with Chrissy Teigen!
Buffalo Chicken Dip - This is a yummy lightened up version I’ve been using for a number of years, it uses greek yogurt and low fat cream cheese.
Chicken Bacon Ranch Quesadillas - super simple and use similar ingredients to everything else.
BBQ Chicken Quesadillas - These were SO yummy and one of my favorite things from the snack stadium!
Loaded Tater Tots - Bake tater tots according to instructions, remove from oven to cool, then add 6-7 tots to each skewer, top with ranch seasoning, shredded cheese, bacon, and green onions and bake for 10 more minutes.
Sausage Rolls - super simple family recipe - sausage meat wrapped in puff pastry, egg washed and baked in the oven.
Guacamole - I make a mean guacamole, if I do say so myself. Avocados, chopped fresh cilantro, chopped red onion, greek yogurt, fresh lime juice, cumin, cayenne pepper and salt!
I also filled mini plastic shot glasses with sour cream and salsa to represent the players from each team.
Celery and carrot sticks went in glasses in 2 of the corners.
Tostitos scoops and cheddar popcorn to filled in other sections.


The Superbowl Snack Stadium was so much fun to make and is definitely a crowd pleaser! I can’t wait to use it again for my next game day party! Let me know if you have any questions and I can’t wait to see your recreations!